WEEK 11 - PATTERN CUTTING SESSION 2 PERSONAL REFLECTION
Pattern
cutting session 2 – Anthropometrics and beginning the bodice 12th October 2017
In my second
session of pattern cutting, the group started by talking about anthropometric
measurements by measuring ourselves and others. I was used as an example for
the group when we were being taught each measurement that would be taken to
determine your body shape or use the set of measurements to create a pattern.
·
Mesomorph
– pear or triangle
·
Endomorph
– Apple shaped
·
Ectomorph
– Rectangular shape
·
Hourglass
– balanced at top and bottom with smaller middle
During this
session I learnt a great deal about the areas of the body you need to measure
when fitting a model or creating a size chart for yourself. After measuring my
friend and being measured myself I determined my own body shape as an
hourglass.
When
measuring like this to create a size chart it is extremely important to allow
for tolerance ease around areas like the elbow.
Understanding
the fabric
Before
beginning to work the fabric at all, I was introduced to the selvage mode of
warp threads. The warp of a fabric runs vertically, and the weft of a fabric
runs horizontally. The selvage is the edge of the fabric where the two threads
begin to fray. These are called grain lines.
The warp
thread is the strongest of the two, all patterns run along the warp thread. It
is important when making and remaking a toile that you follow the same grain
line for each prototype – changing the grain lines can alter the size of the
garment as each way has a different give.
The true
bias of a fabric is found at degrees from the weft line, this is where the fabric
has the most flexibility and will stretch the most.
Starting
the bodice
To begin
creating the bodice shape, I started with a piece of calico that measured 35cm
across, and approx. 55cm down. This was a standard measurement given to us by
Karen – taken from the stand. *insert photo from notes*
I then:
- Plotted 3cm’s in on either side and drew a vertical line down from this. (to allow for space to pin on the centre front and back
- Marked these two lines as the centre front and centre back
- Exactly half way across the fabric, marked a vertical line down the middle that is where I am going to cut it in half
- Cut my fabric in half, leaving me with a piece for the front and back.
 |
| Black tape to highlight important lines on the body to follow |
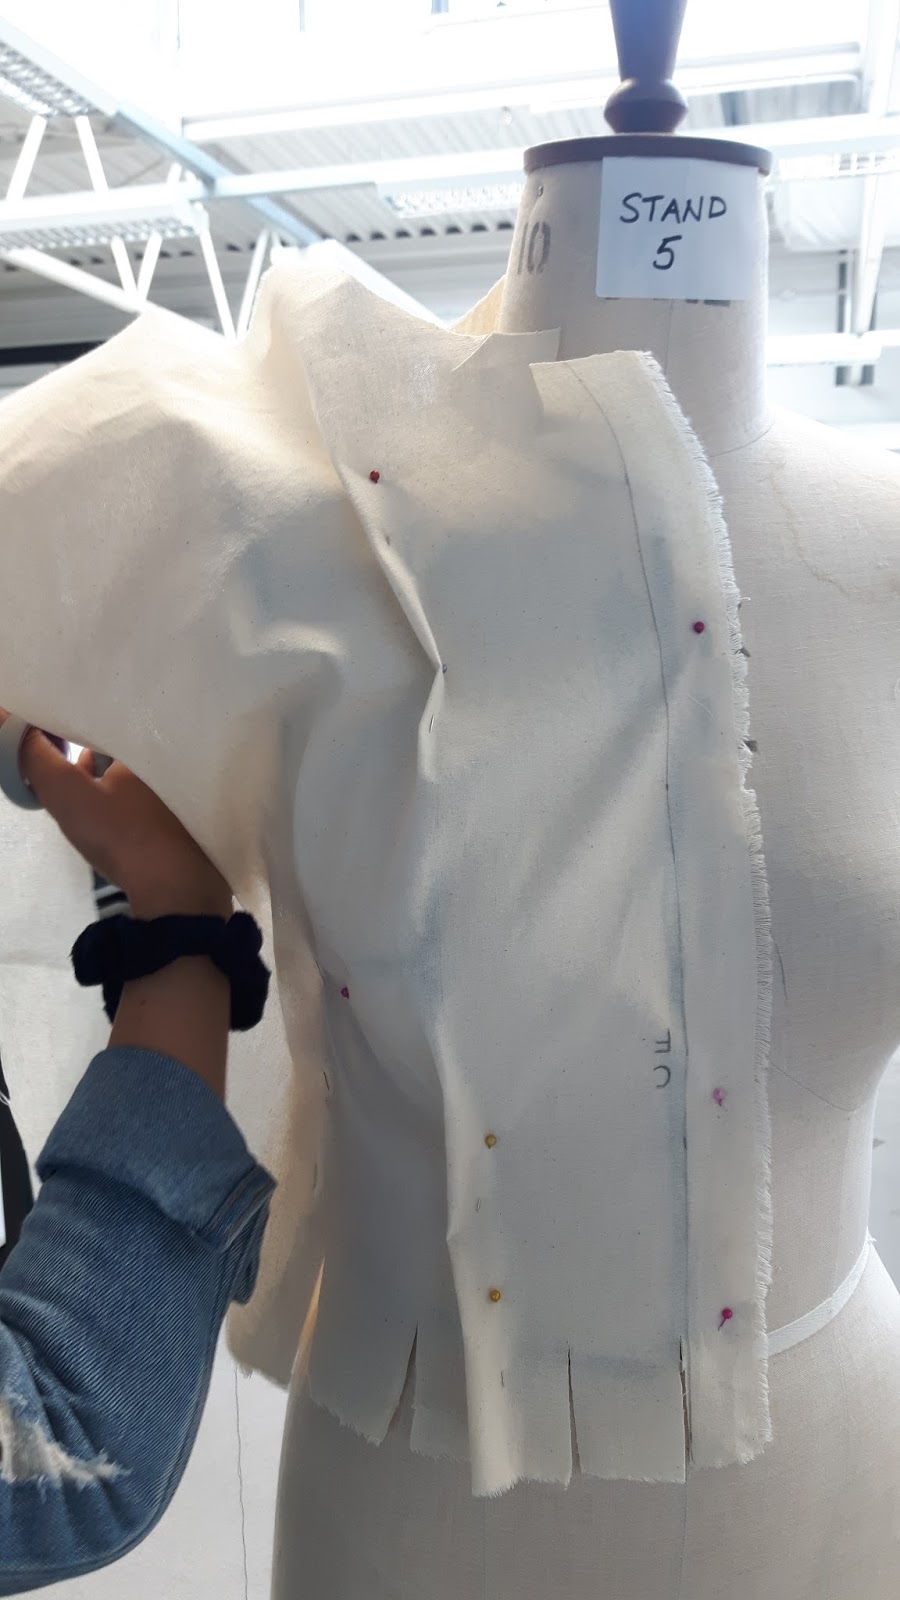
Having
previously marked all the lines on my stand using black tape, I was now ready
to apply my fabric and start manipulating it. This is where the technique
became the potato exercise in my previous session. I lined up the centre front
and pinned it in place.
Next, I cut off the excess fabric around the
neck, and smoothed the fabric over the bodice, pinning it at the side. Cutting
into the neck line slightly allowed the fabric to give and bend around the neck
easier, I pinned this once completed.
I then
created the bust dart by finding the ‘bubble’ of fabric around the front area
of the bodice, pinching it into a wedge shape that starts at the shoulder and
runs down to the bust point. This dart should be around 4cm deep.
Creating the
front waist dart was next. The same technique was used as the bust point,
pinching the bubble of fabric and meeting the bust point and pinning in place.
At this
point I cut away some of the excess fabric around the armhole and snipped into
the waist line as I did on the neck to help the fabric lie flat and release the
tension.

The next step was to apply my back piece to the centre back
line on the stand, I created the two back darts the same way as the front –
shoulder dart being 2cm wide and roughly 7 long and waist dart was 4cm deep and
filters out to the underarm point.
Smoothing the fabric around the body to meet with the front,
and pinning at the side, again I then trimmed some excess away around the arm
hole and snipped into the waist as before.
 |
Bringing the sides together, following the black lines on the
stand to meet, and I pinned starting from the underarm down to the waist. I
repeated this on the shoulder at the top. At this point I cut away any excess
fabric on the sides, and opened up the arm hole a little more if necessary.
It was at this point that the session was finished, I was going to continue my bodice next week having got to a good point to end today. I made sure that I had pinned the fabric to itself and not the stand, to enable easy removal of the fabric.
This session was really enjoyable, I found that it put my previous session into context as well. Seeing how what I did with the potato translated into fashion 3D manipulation. I am looking forward to my next session and seeing how the garment continues to develop.


Comments
Post a Comment