WEEK 10 - INDUSTRIAL SEWING MACHINES PERSONAL REFLECTION
Introduction to Industrial sewing machines - 6th October 2017
Following on from my pattern cutting induction, this week I also took part in an induction on using the industrial sewing machines with Caz. This was a workshop I had been really looking forward to as I have used machines in the past, but I was keen to see the difference when using an industrial style machine.
The first thing I did, after the health and safety briefing, was thread my machine. This already had a lot more steps to it than a domestic machine, and once using it for the first time I found out that it also has a lot more power. The machines are fitted with a lever by the knee to rise and lower the needle which I found very helpful.


The first step was just getting used to how the machine worked, creating straight lines on calico to get the hang of how much pressure to apply to the pedal etc. I found it quite easy to operate in terms of this. It is necessary to always do a back track at the start and end of a line of stitching.
 |
| Straight line created with the same outer width. |
At this point I was introduced to an overlocker - something that I have never used before. The purpose of this machine is to sew over the edge of a piece of fabric to hem or join. They work extremely fast and because the cut the fabric as well as stitching, it is important to make sure that you allow enough for this to happen to avoid losing valuable cm's on your fabrics.
Next, we began learning some basic stitches that could be used when joining pattern pieces together when designing.
Closed Stitch - This stitch was overlocked first and then created.
 |
| A closed stitch that has been overlocked first |
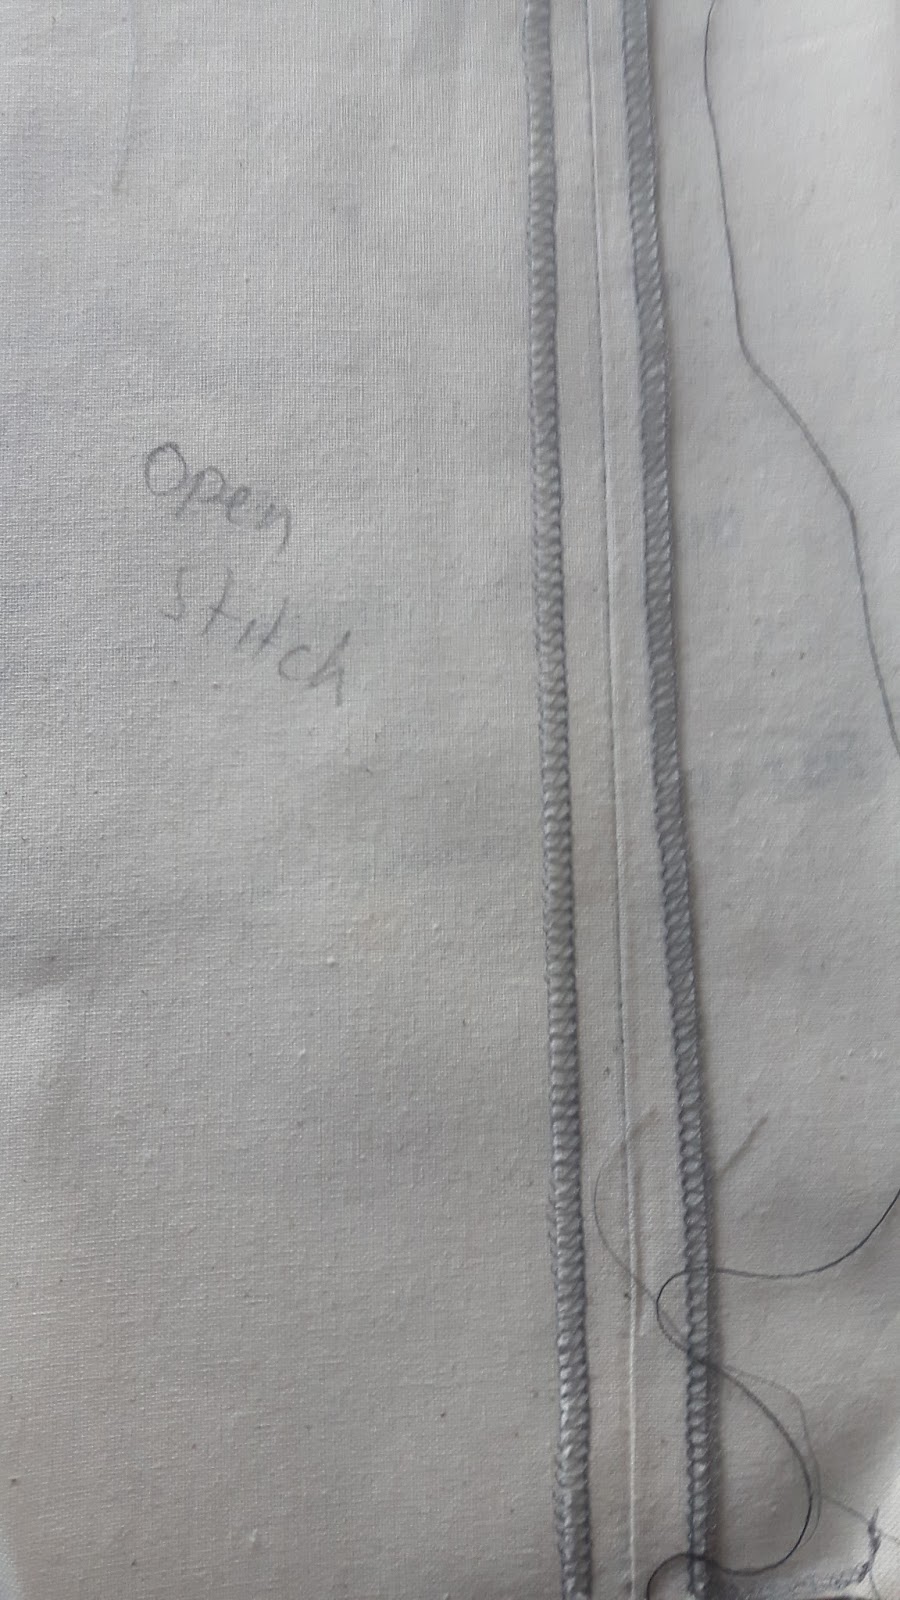 |
| open stitch created by overlocking afterwards |
Delicate fabric seams (french stitch)
The next stitch I did was a french stitch. I learnt that this was used on delicate fabrics such a chiffon or silk to minimise the appearance of stitches through the fine material.
- stitch half cm
- always backtrack
- place wrong sides together
- press stitch to the top of the fabric
- re stitch again half cm with the right sides together, open out and press. There should be no raw edges showing.
 |
| French stitch on delicate fabric |
Mock Lap Seam - Used for denim and extra strong hold. To create this, I put the wrong sides of the fabric together (the opposite for a standard stitch) and stitched a 2cm seam. I then cut one half of the fabric after the seam away, steaming backwards the longer side of the two to meet the stitch line. Then steamed once more the opposite way and 'edge stitch' (by lining the edge with the side of the foot to create a very close stitch) to finish.
 |
| wrong side of the denim feat. a mock stitch. |
 |
| right side of the denim feat. a mock stitch. If you look closely you can see the edge stitch that was created very close to the end of the fabric to make the stitch extra secure after steaming.
The session this week taught me a lot about a variety of stitches that I will be using throughout my degree that I hadn't heard of before. I also really enjoyed beginning to learn how to use the machinery in the studios, the sewing machines work a lot faster than I first thought and there is a lot to remember when it comes to threading and operating one. Having never used an overlocker before it was exciting to be introduced to this and to learn off my peers from working in a small group to help each other.
|


Comments
Post a Comment